All posts in 360 Photography
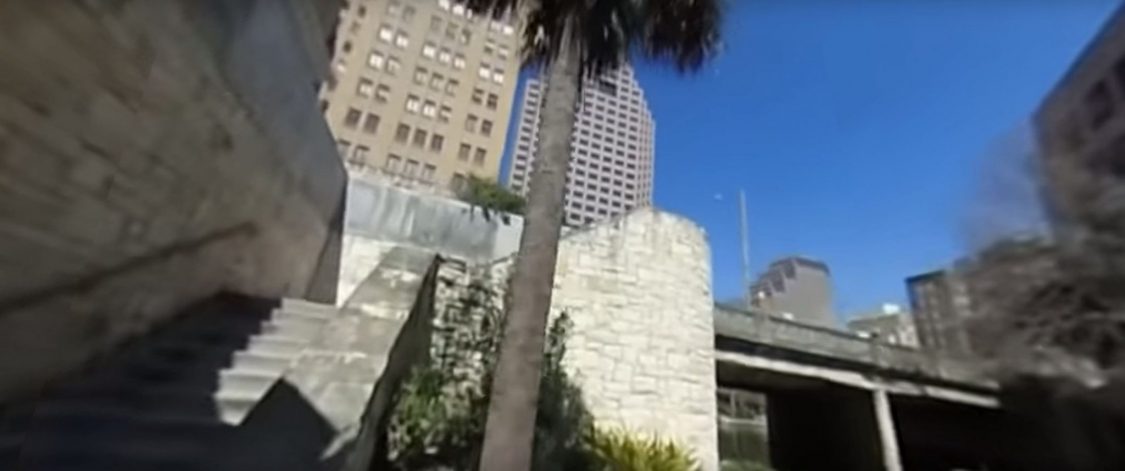
A video I took last year, using a 360 camera mounted on a backpack, on a walk down the San Antonio Riverwalk in Texas:

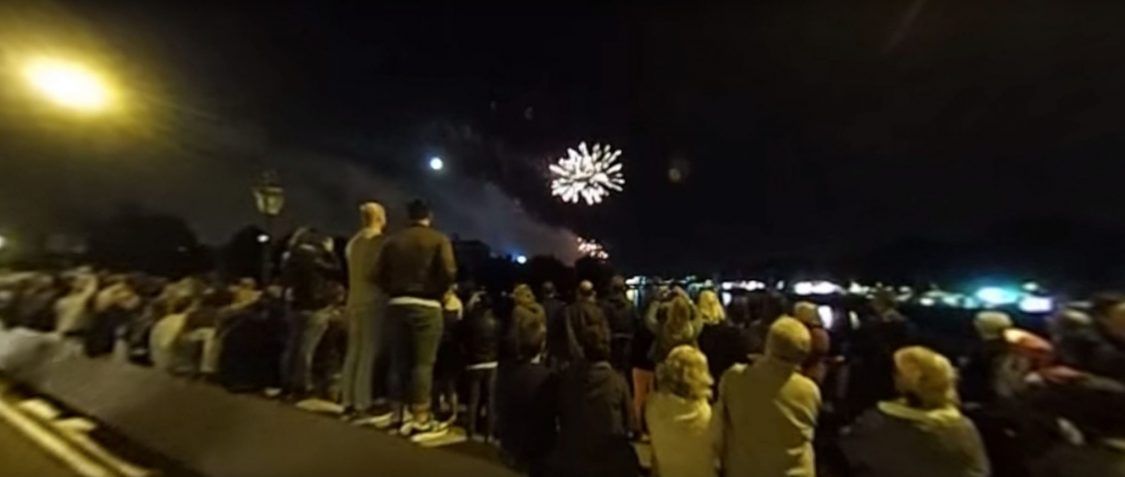
BioCity’s new Discovery building was unveiled a few days ago, with a unique solar installation, titled Corona, designed by Nottingham artist Wolfgang Buttress in partnership with Nottingham Trent University physicist Dr Martin Bencsik. Fibre-optic lights and aluminum tubes use real-time solar data from NASA, creating a light display which is always unique.
My 360 video with spatial audio (uses a different mix of surround sound microphones as you spin your virtual head to simulate reality):
360 still images with audio:
I had a try adding spatial audio to a VR video. In theory this should add realism to a 360 VR video by adding audio that can be processed to play back differently depending on the direction of the viewer.
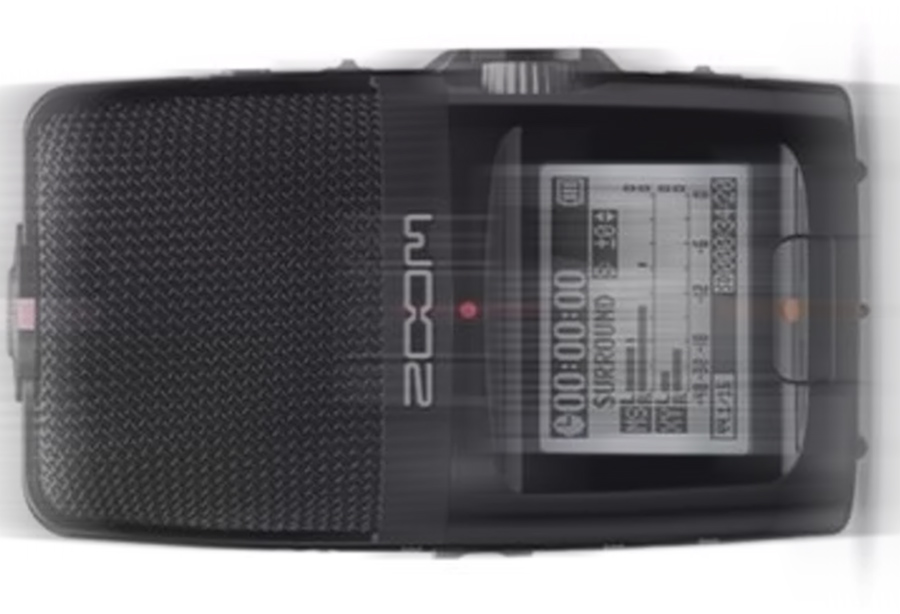
I updated the Zoom H2n to firmware version 2.00 as described here https://www.zoom.co.jp/H2n-update-v2, and set it to record to uncompressed WAV at 48KHz, 16-bit.
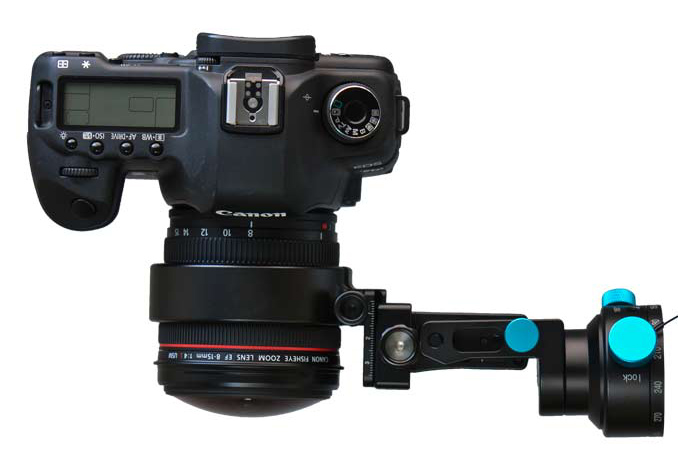
I attached the audio recorder to my Ricoh Theta S camera. I orientated the camera so that the record button was facing toward me, and the Zoom H2n’s LCD display was facing away from me. I pressed record on the sound recorder and then the video camera. I then needed a sound and visual indicator to be able to synchronize the two together in post production, and clicking my fingers worked perfectly.
I installed the http://www.matthiaskronlachner.com/?p=2015. I created a new project in Adobe Premiere, and a new sequence with Audio Master set to Multichannel, and 4 adaptive channels. Next I imported the audio and video tracks, and cut them to synchronize to when I clicked my fingers together.
Exporting was slightly more involved. I exported two files, one for video and one for audio.
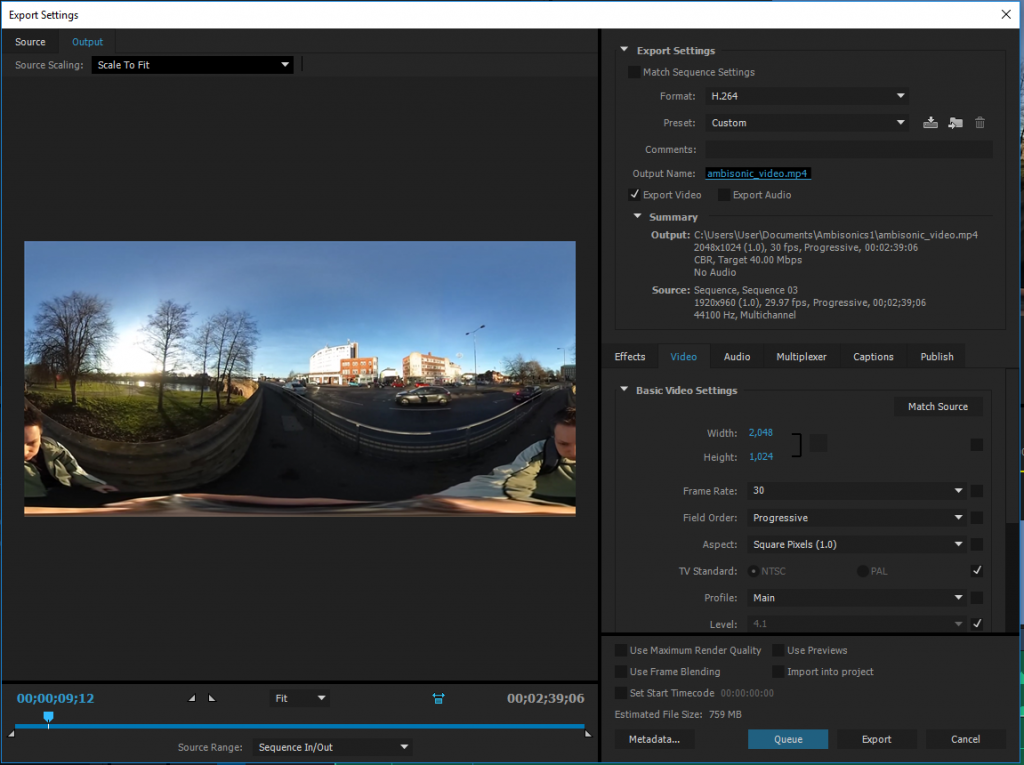
For the video export, I used the following settings:
- Format: H264
- Width: 2048 Height: 1024
- Frame Rate: 30
- Field Order: Progressive
- Aspect; Square Pixels (1.0)
- Profile: Main
- Bitrate: CBR 40Mbps
- Audio track disabled
For the audio export, I used the following settings:
- Format: Waveform Audio
- Audio codec: Uncompressed
- Sample rate: 48000 Hz
- Channels: 4 channel
- Sample Size: 16 bit

I then used FFmpeg to combine the two files with the following command:
ffmpeg -i ambisonic_video.mp4 -i ambisonic_audio.wav -channel_layout 4.0 -c:v copy -c:a copy final_video.mov
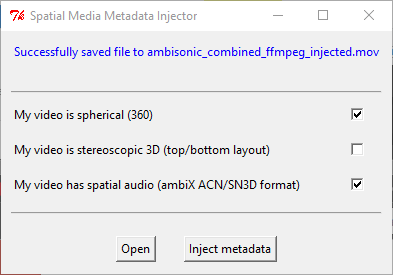
And finally injected 360 metadata using the 360 Video Metadata app, making sure to tick both ‘My video is spherical (360)’ and ‘My video has spatial audio (ambiX ACN/SN3D format).
And finally uploaded it to YouTube. It took an extra five hours of waiting for the spatial audio track to be processed by YouTube. Both the web player and native Android and iOS apps appear to support spatial audio.
If you have your sound recorder orientated incorrectly, you can correct it using the plugins. In my case, I used the Z‑axis rotation to effectively turn the recorder around.
There are a lot of fascinating optimizations and explanations of ambisonic and spatial audio processing available to read at Wikipedia:
The original in-camera audio (Ricoh Theta S records in mono) to compare can be viewed here:
Here is the first version of a simple droplet for converting and publishing 360 panoramic videos. It is intended to be used for the processed output file from a Ricoh Theta S that has the standard 1920x960 resolution. It is easy to do manually, but many people asked for an automatic droplet.
It conveniently includes 32-bit and 64-bit versions of FFMPEG for performing video conversion.
Instructions:
- Extract to your KRPano folder.
- Drag your MP4 video file to the ‘MAKE PANO (VIDEO FAST) droplet’.
- Be patient while your video is encoded to various formats.
- Rename the finished ‘video_x’ folder to a name of your choice.
You can download the droplet here:
Recent improvements include:
- Adding three variations of quality, which can be accessed by the viewer in Settings.
- Improving the quality of the default playback setting.
- Automatically switching to the lowest quality when used on a mobile device.
- Using a single .webm video, as the format is very rarely used, and very time consuming to encode.
- Outputs to a named folder.
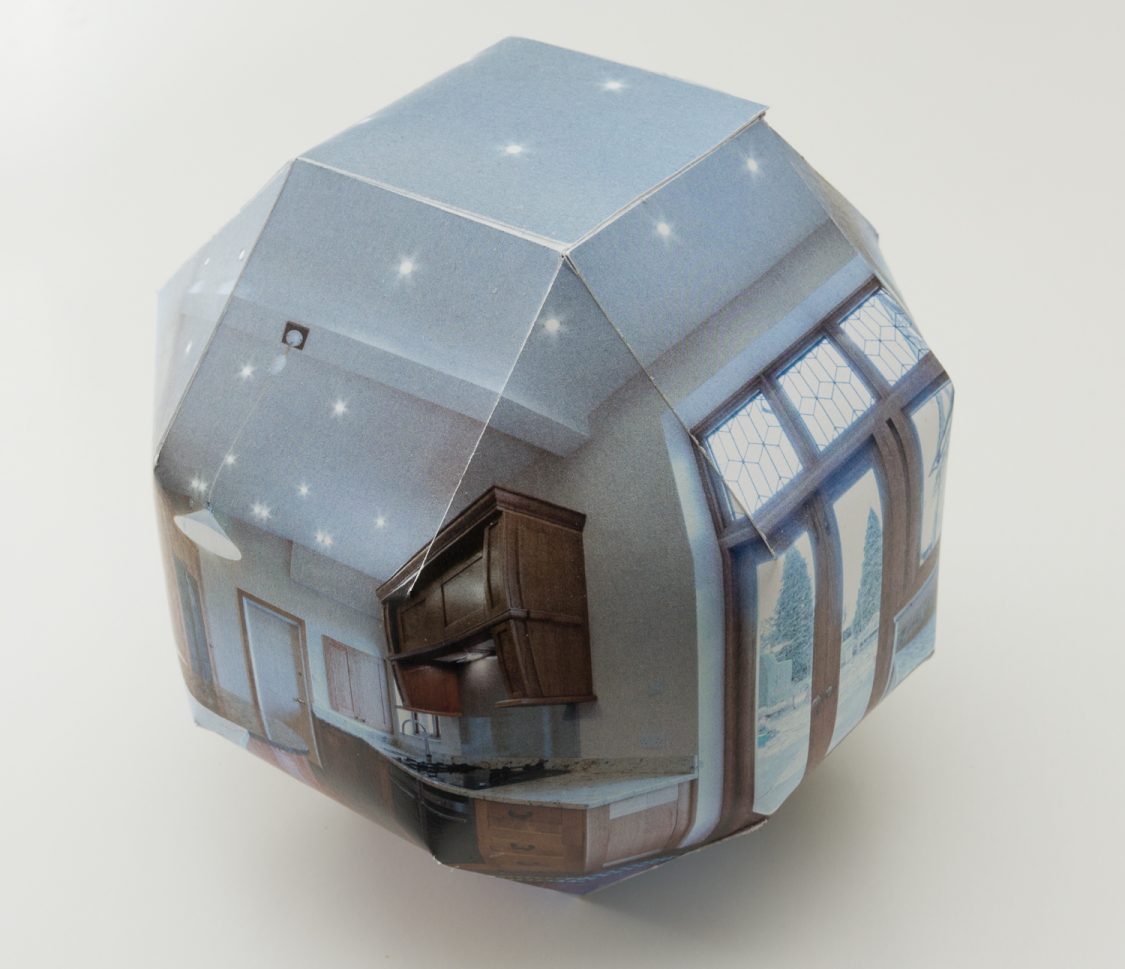
A 26-face printed object made from a recent 360 photograph. This shape turned out to be the best:
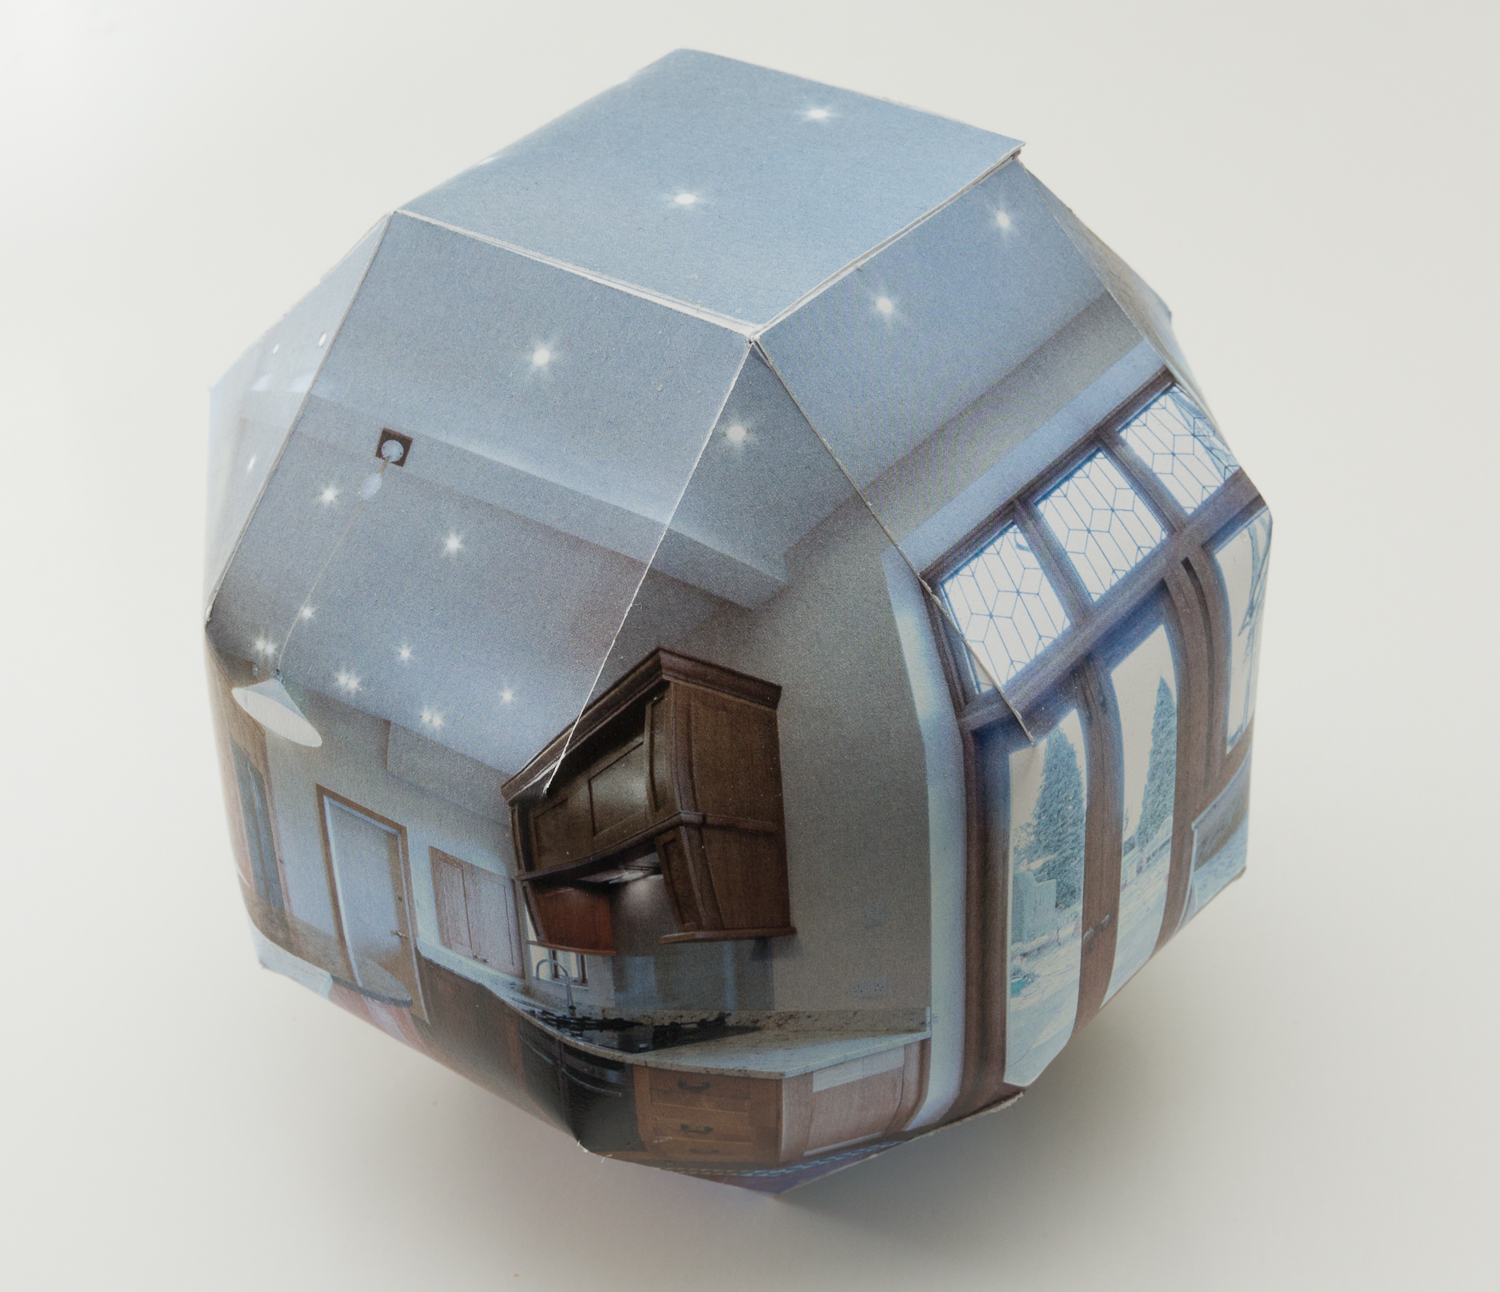
You can see more 360 shapes here.
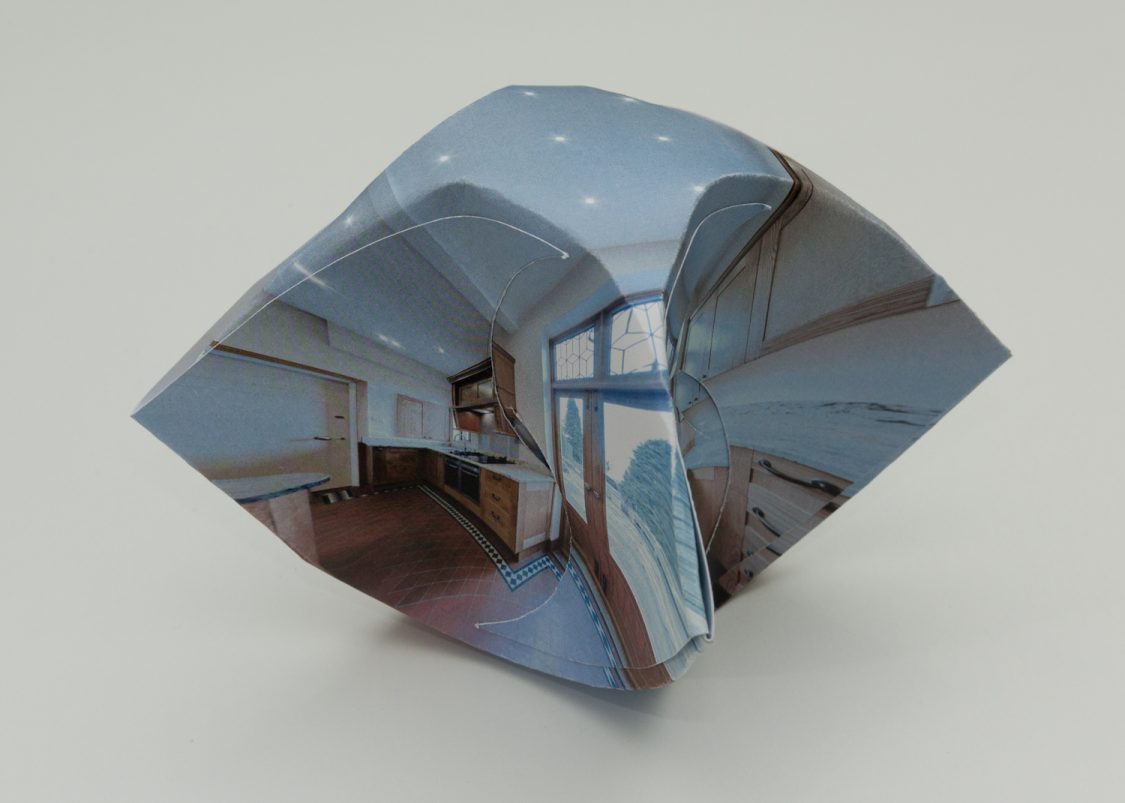
Shapes made from 360 photos:
[foogallery id=“627”]