The latest MariaDB release adds a Vector datatype, which is great for storing and querying embeddings. Embeddings are basically a representation of concepts for AI/GPT. I’ve used this when creating a knowledgebase that can have questions asked efficiently against it even at scale.
All posts in Web Technology

S3 and S3-compatible storage is an indispensable component of modern web applications, especially when deploying with containers like Docker and Kubernetes.
When developing an application locally, although Laravel and other frameworks have unified storage helpers allowing switching between file systems (usually local and S3), there are many quirks of object storage that will be overlooked if using a local filesystem.
Rather than use a hosted S3 system during development, we can save costs, latency (and time) and bandwidth using a local S3-compatible server. MinIO was the go-to until recently with controversial license changes. RustFS is a good choice for local development. Here is how to set it up with Docker and Laravel for local development:
RustFS Docker:
2
3
4
5
6
7
8
9
10
11
-p 9000:9000 \
-p 9001:9001 \
-v rust-data:/data \
-v rust-logs:/logs \
-e RUSTFS_ACCESS_KEY=rustfsadmin \
-e RUSTFS_SECRET_KEY=rustfsadmin \
-e RUSTFS_CONSOLE_ENABLE=true \
-e RUSTFS_SERVER_DOMAINS=storage.mydevdomain.test \
-e RUSTFS_SIG_HEADER_WHITELIST="if-modified-since,range" \
rustfs/rustfs:latest
| Argument | Meaning | ||||||
|---|---|---|---|---|---|---|---|
| Launches a new container from the specified image. | ||||||
| Maps port 9000 inside the container to port 9000 on your host. This is usually where RustFS serves file storage, to be served publically. | ||||||
| Maps port 9001 inside the container to port 9001 on your host. RustFS web admin console. | ||||||
| Mounts a Docker volume called
| ||||||
| Mounts a Docker volume called
| ||||||
| Username for web admin console access. Don’t use this in production! | ||||||
| Password for web admin console access. Don’t use this in production! | ||||||
| Enables the RustFS web console, which allows you to monitor and manage storage via a browser. | ||||||
| Defines the domain(s) RustFS should respond to. | ||||||
| Specifies which HTTP headers are allowed for signed requests. In practice I’ve found this is required when serving large files. | ||||||
| The Docker image to run (latest version of RustFS). |
To configure this as a storage disk in Laravel, we can either create a new disk, or alter the S3 disk. You’ll have to decide which approach to take, which may depend on if you have multiple disks and providers.
The admin interface of RustFS is very easy to use. If you are intending files to be public and using Laravel, it is essential to set your file system as public, and also set your RustFS bucket as public. From experience you will just get silent errors with no error logs to help you.
config/filesystems.php
2
3
4
5
6
7
8
9
10
11
12
13
14
15
16
'driver' => 's3',
'key' => env('AWS_ACCESS_KEY_ID'),
'secret' => env('AWS_SECRET_ACCESS_KEY'),
'region' => env('AWS_DEFAULT_REGION'),
'bucket' => env('AWS_BUCKET'),
'url' => env('AWS_URL'),
'endpoint' => env('AWS_ENDPOINT'),
'visibility' => 'public',
'use_path_style_endpoint' => env('AWS_USE_PATH_STYLE_ENDPOINT', false),
'throw' => false,
'report' => false,
'http' => [
'verify' => env('AWS_SSL_VERIFY', true),
],
],
From experience I’ve found that RustFS requires use_path_style_endpoint, as the URL structure has the bucket name as the first path in the URL, contrary to S3. This is the same in many compatible servers.
During development, the option to ignore self-signed certificate errors is important.
The final step is to set up a reverse proxy on your favorite web server to serve the files. Here’s an example config in Nginx (don’t forget to update your hosts file):
2
3
4
5
6
7
8
9
10
11
12
13
14
15
16
17
18
19
20
21
22
23
24
25
26
27
28
29
30
31
32
33
listen 80;
listen 443 ssl;
server_name storage.mydevdomain.test bucketname.storage.mydevdomain.test;
location / {
proxy_pass http://127.0.0.1:9900;
# Preserve client + host info (important for S3-style services)
proxy_set_header Host $host;
proxy_set_header X-Real-IP $remote_addr;
proxy_set_header X-Forwarded-For $proxy_add_x_forwarded_for;
proxy_set_header X-Forwarded-Proto $scheme;
# RustFS / S3 compatibility tweaks
proxy_http_version 1.1;
proxy_set_header Connection "";
# Large uploads support
client_max_body_size 0;
proxy_request_buffering off;
}
# SSL (Laragon)
ssl_certificate "/etc/ssl/mycert.crt";
ssl_certificate_key "/etc/ssl/mykey.key";
ssl_session_timeout 5m;
ssl_protocols TLSv1 TLSv1.1 TLSv1.2;
ssl_ciphers ALL:!ADH:!EXPORT56:RC4+RSA:+HIGH:+MEDIUM:+LOW:+SSLv3:+EXP;
ssl_prefer_server_ciphers on;
charset utf-8;
}
That’s it! Now you have local S3-compatible storage for local development, that won’t cost you in storage and ingress/egress fees, has low latency and won’t use up your bandwidth.
Content Shifting, also known as Content Jumping, happens when elements of a web page change height while a page is loading. This can be disorientating to users, and in extreme cases can cause problems if a user clicks on an element as it moves, causing undesired input. It’s also expected in 2021 that search engines will begin penalising content that exhibits content shifting.
To avoid content shifting, the element’s height would be set regardless of the dynamic content it contains.
When using Vue or React JavaScript frameworks, I’ve found that CSS parameters are useful. In my example, a Vue app loads dynamic content and displays it. Unfortunately this causes content shifting.
To avoid this, I pass the number of rows in the HTML/view:
In my CSS/SASS stylesheet, I then use this parameter in a calculation. There are two columns, so the number of rows is divided by 2. It is then multiplied by the height of a single row, and a minimum height is set for the container so that it will not shift:
2
3
4
--calculated-board-rows: calc( var(--preload-row-count) / 2);
min-height: calc( var(--calculated-board-rows) * 50px );
}
This fairly simple method is an effective way to stop content shifting using CSS parameters and calculations.

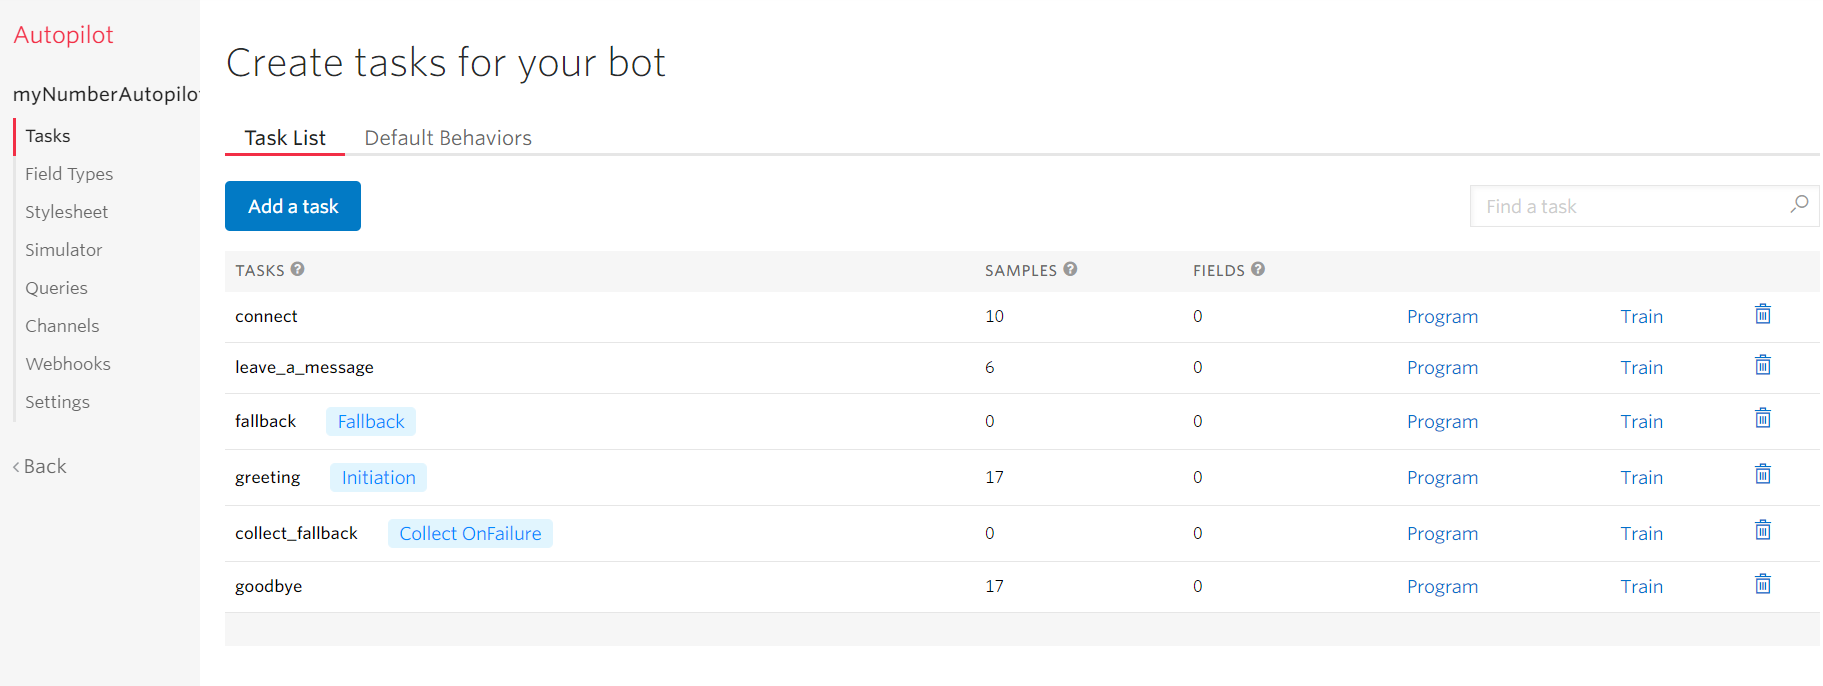
I’ve used Twilio for a while for programmatically sending and receiving SMS messages. There’s also a visual editor called Studio that can be used to make call and message flows:
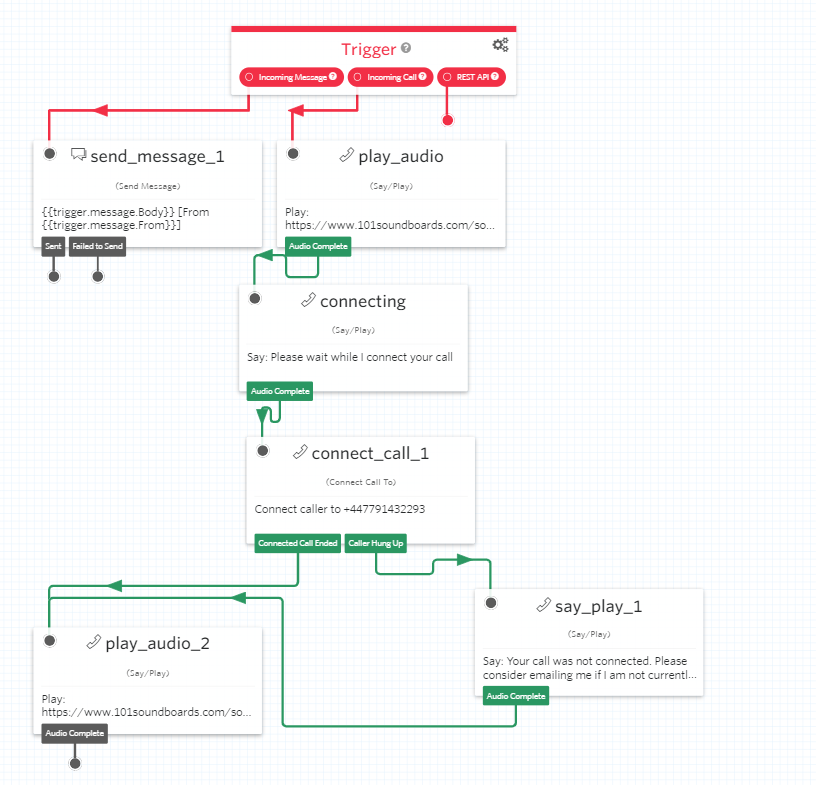
It can be connected to Twilio Autopilot to make AI-powered bots. Tasks are trained with sample phrases. These sample phrases are variations on what would be said to trigger an action e.g. ‘Call reception,’ ‘Front desk,’ ‘Talk to a human.’
An example that comes to mind, is making a call handling system for an office. Rather than a voice menu that details each option followed by a number, the caller could simply say who they wanted to talk to or what their request was about, and the system would handle it. This is far more respectful of the caller’s time compared to having them listen to a long list of choices.
It works with SMS and voice calls, and seems a good way to build an IVR (Interactive Voice Menu) system. TwiML can be used for more complicated tasks, while still using Studio/Autopilot. The pricing is a little higher than if you were to use a self-hosted system, but there are so many complicated functionalities it seems well worth paying the extra, as it would save time and reduce complexity.
I built a remote controlled car that used Twilio’s cellphone service. You can read about it here.
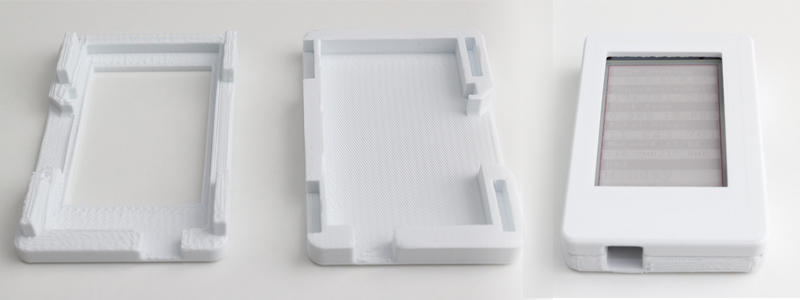
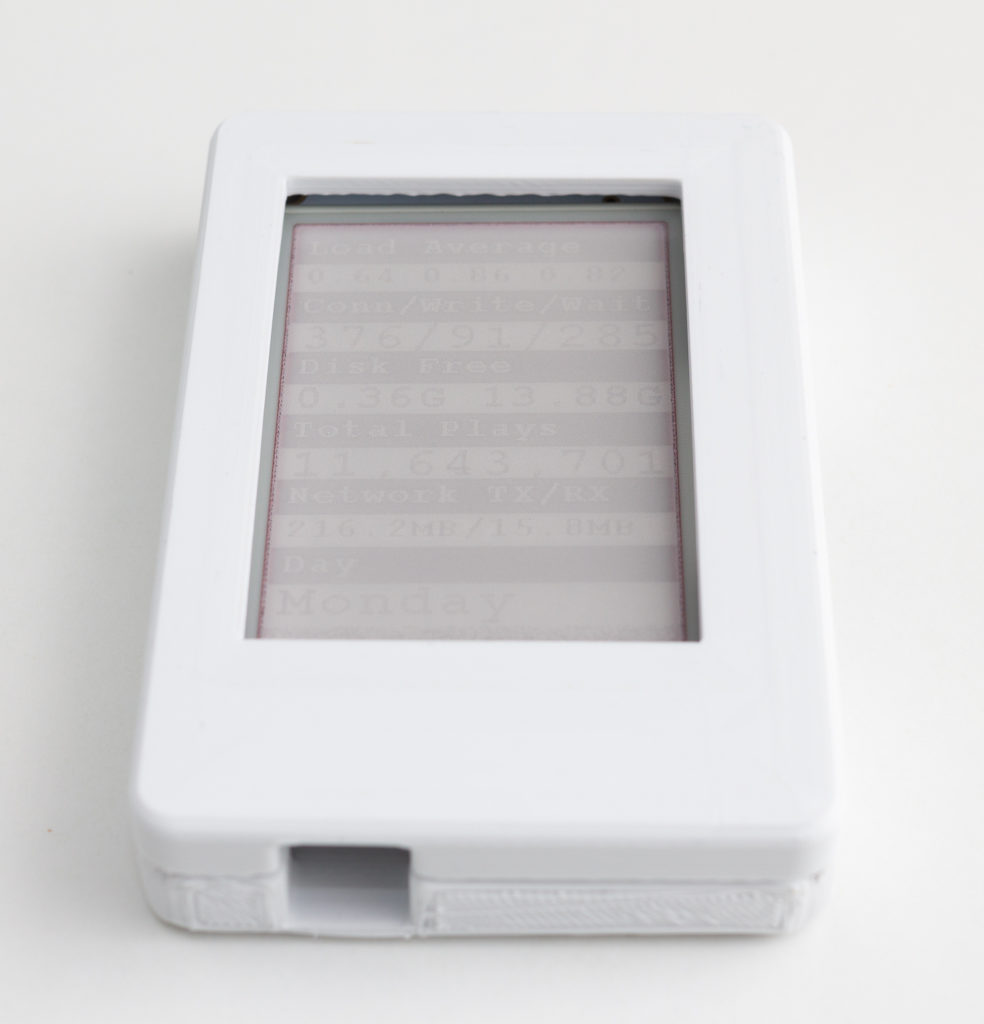
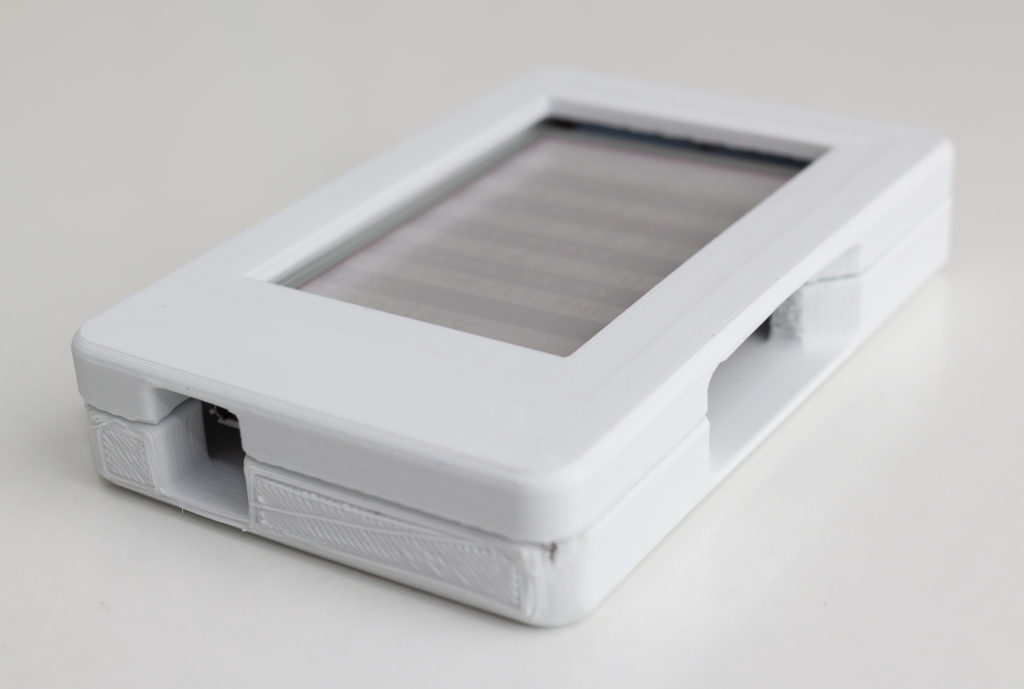
I created a case for my ESP32 E‑Paper Status Display using Fusion 360, Cura and a 3D printer.
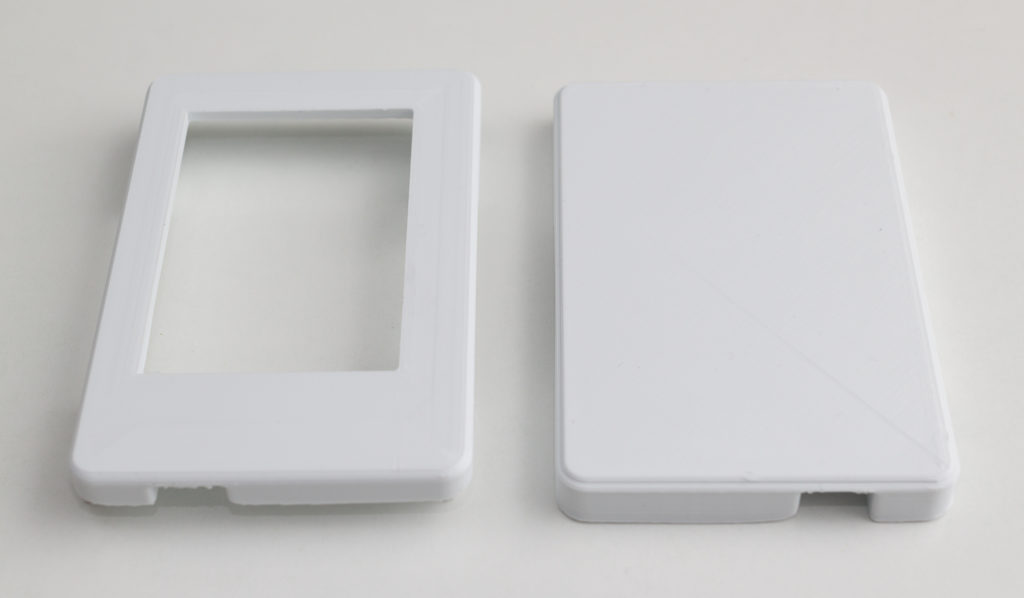
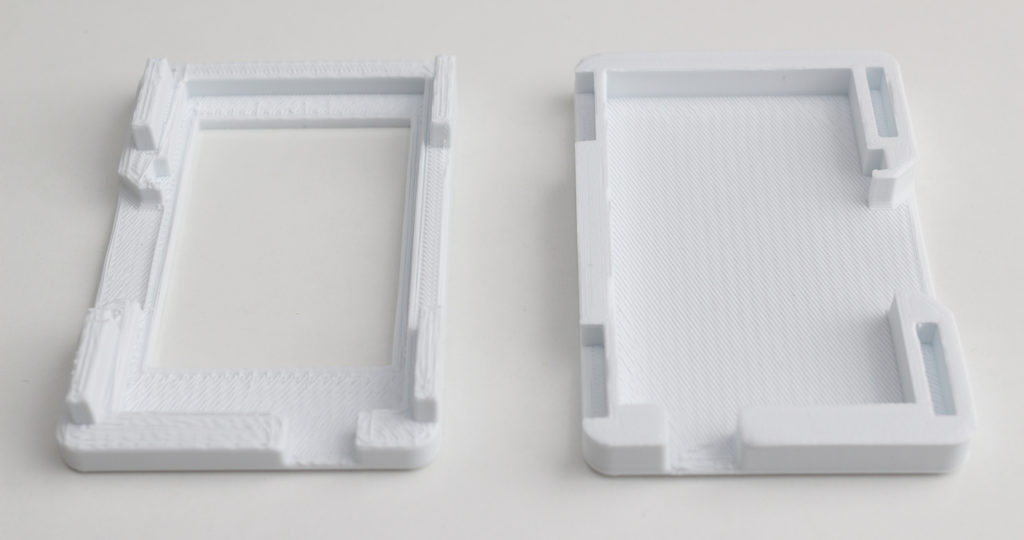
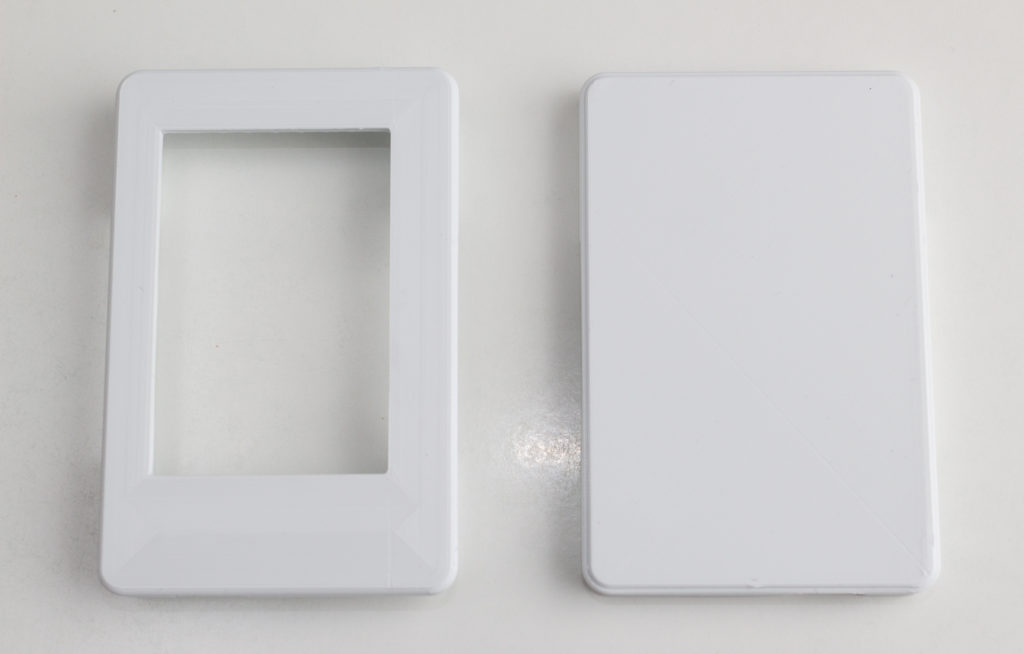
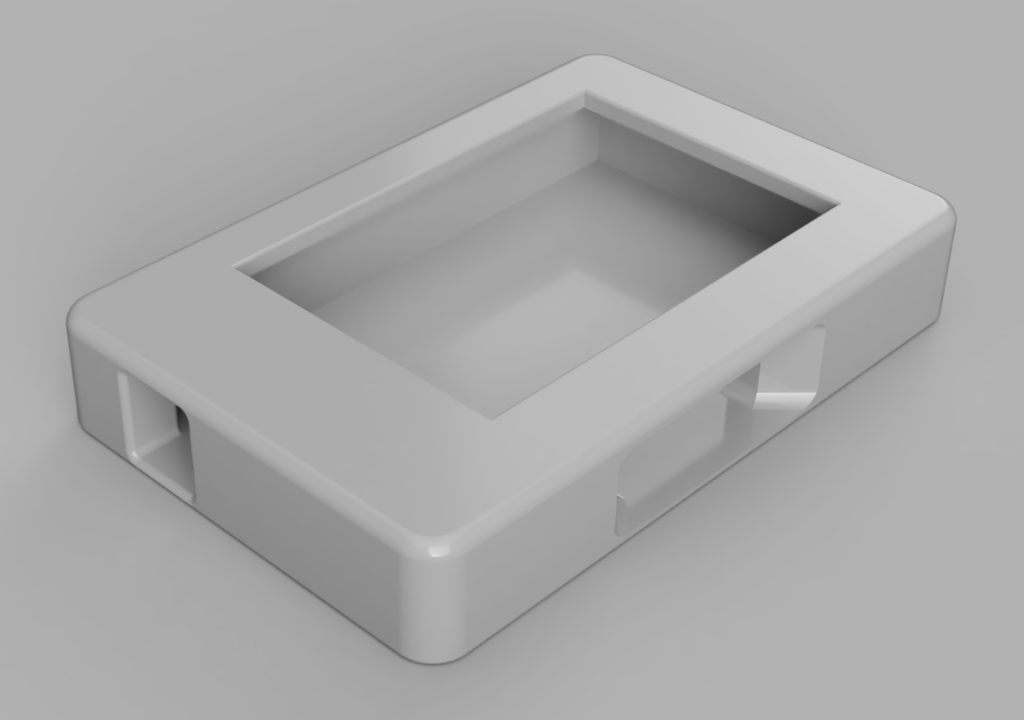
It is available to download at Thingiverse.
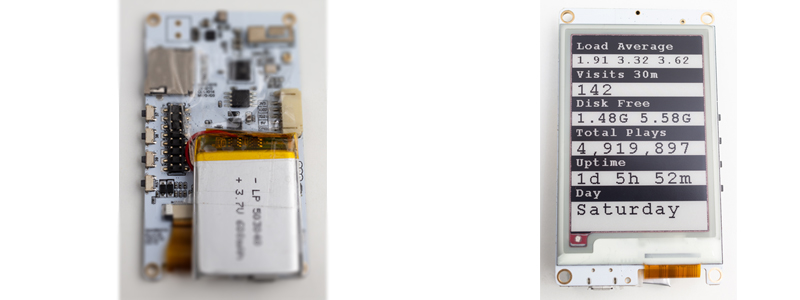
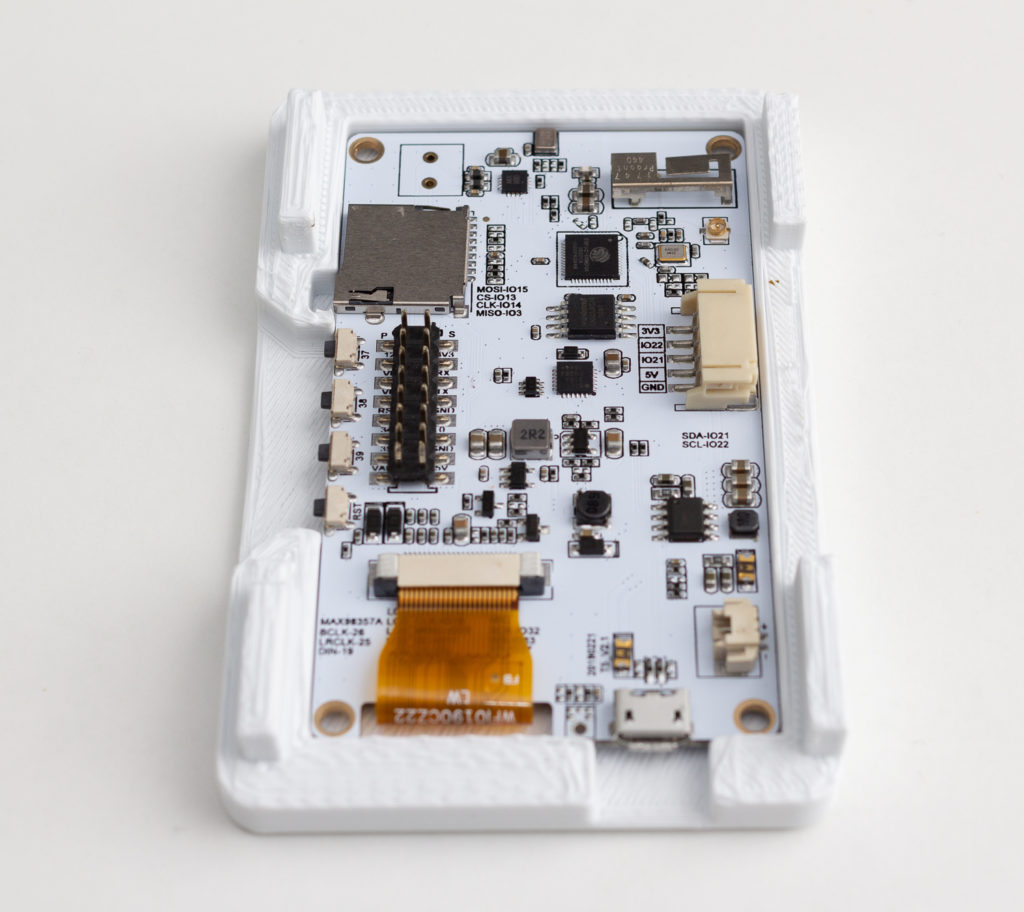
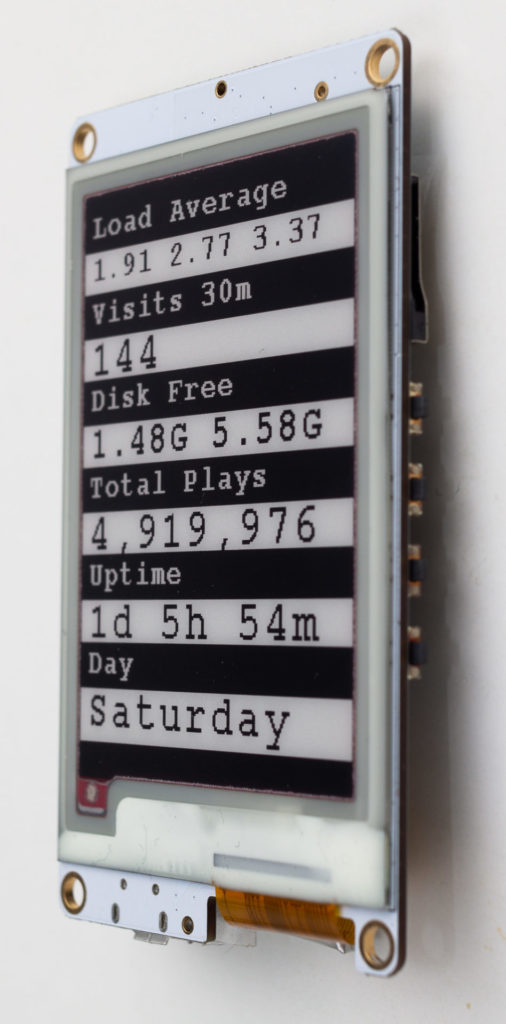
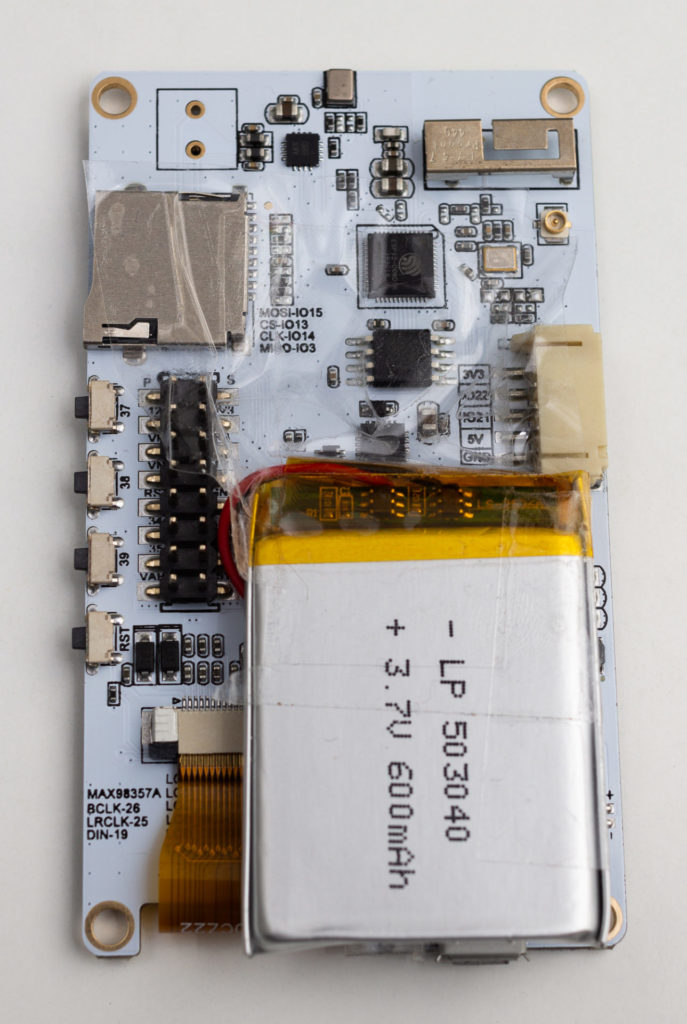
Using an ESP-32 board with an embedded E‑Paper display, I created a gadget that shows status information from my web server.
E‑Paper, also known as E‑Ink, only needs power when being updated, and uses no power between updates. This means that the gadget can be powered for weeks from a rechargeable battery.
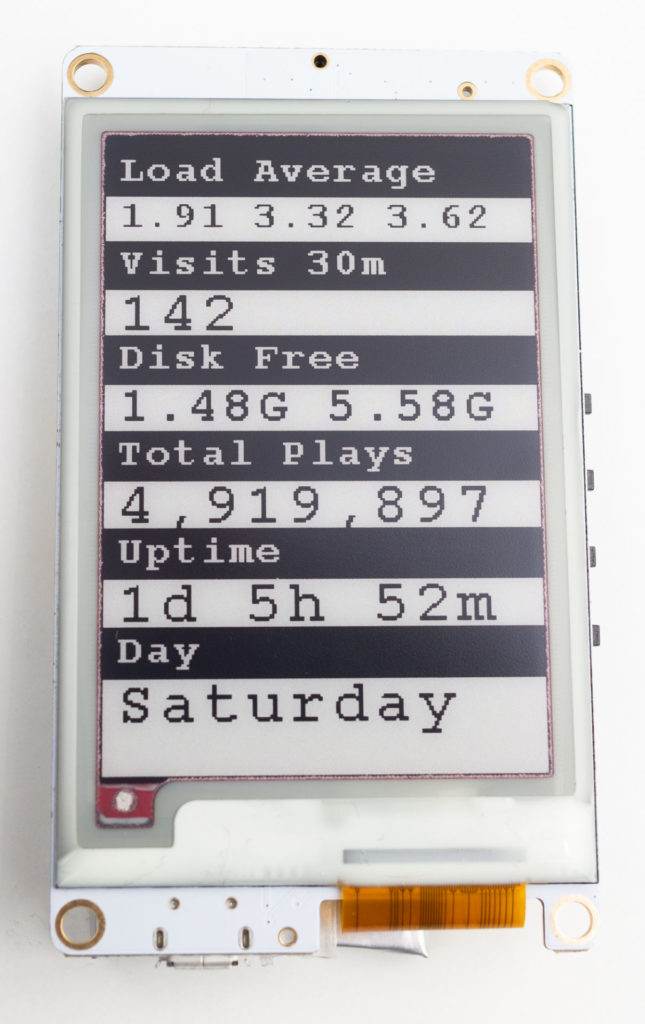
The purpose of this gadget is to put on my wall or desk, and show regularly updated important information on my web server, to keep informed of web site problems and statistics. The information displayed can be easily changed, for example to the latest weather, news, currency prices or anything that can be accessed via the internet. E‑Paper means it uses a very small amount of power and heat, compared to a computer display or television.
You can view my code on GitHub if you are interested in making your own.

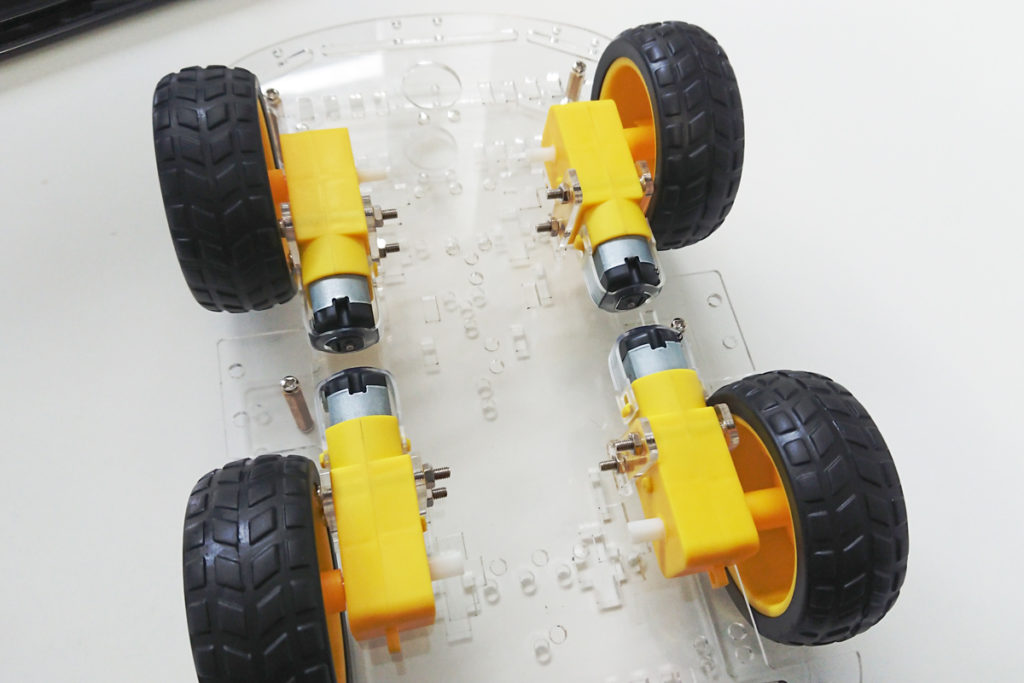
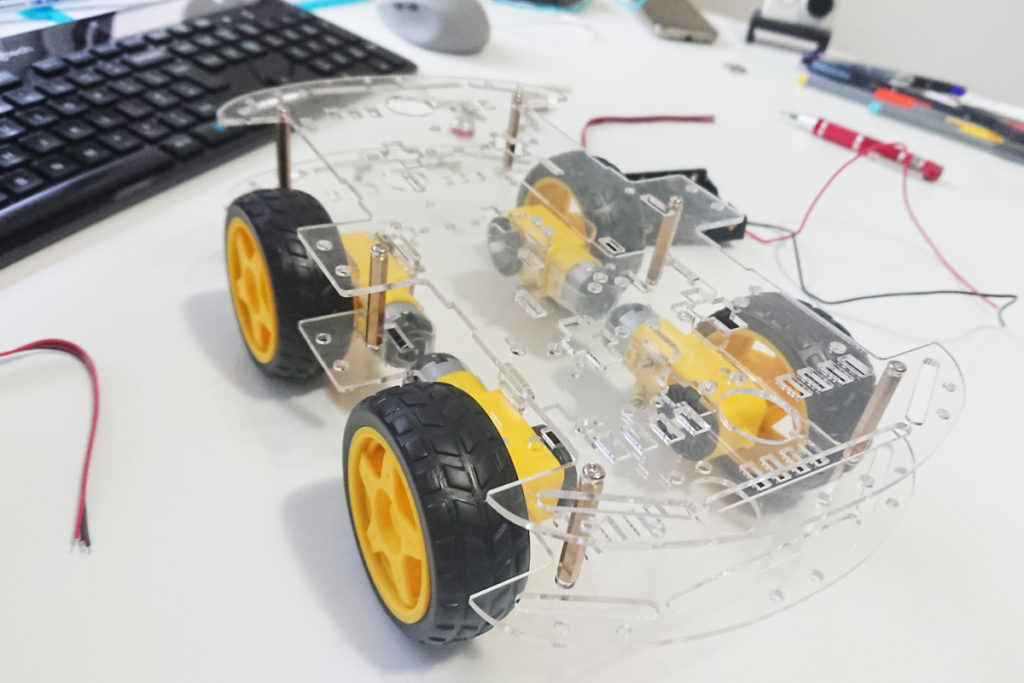
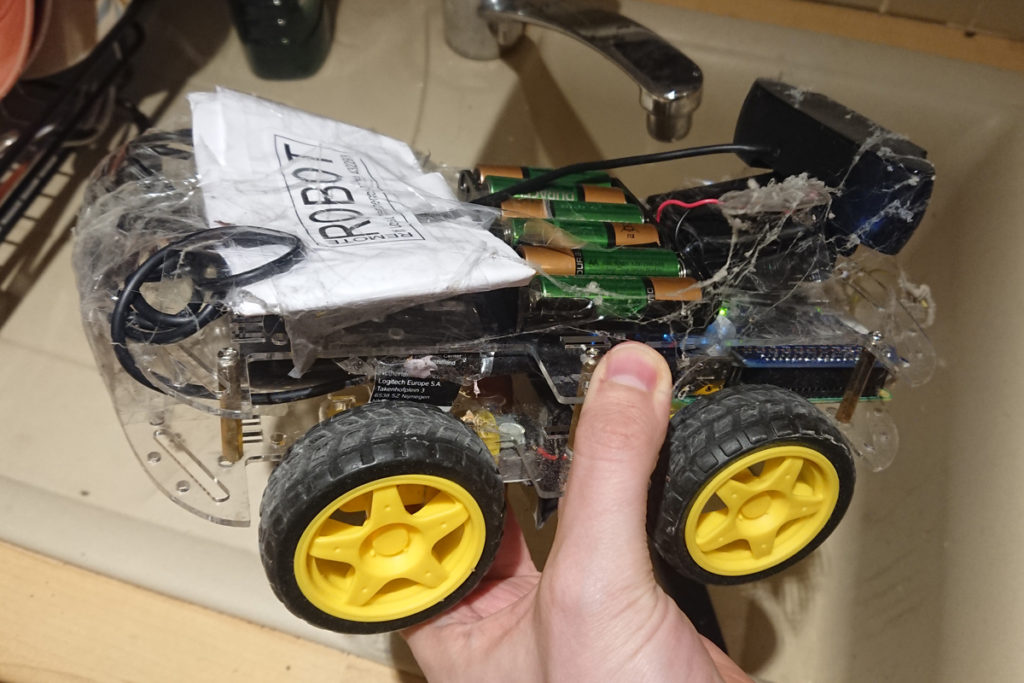
For a long time I have wanted to build a remote controlled robot car capable of being controlled via the Internet, at long ranges using 4G/LTE cellular connectivity. So I did.
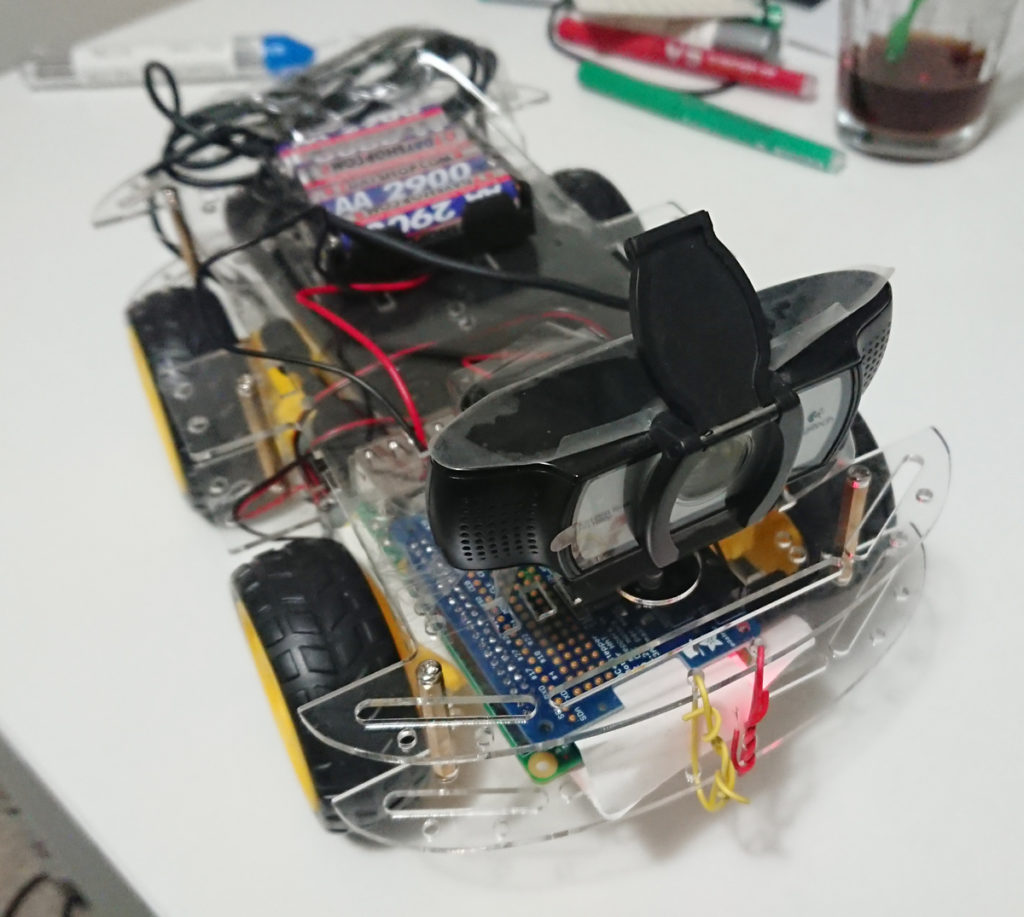
I used a Raspberry Pi 3B+, an Adafruit DC and Stepper Motor Hat, and a Logitech C930e USB UVC webcam.
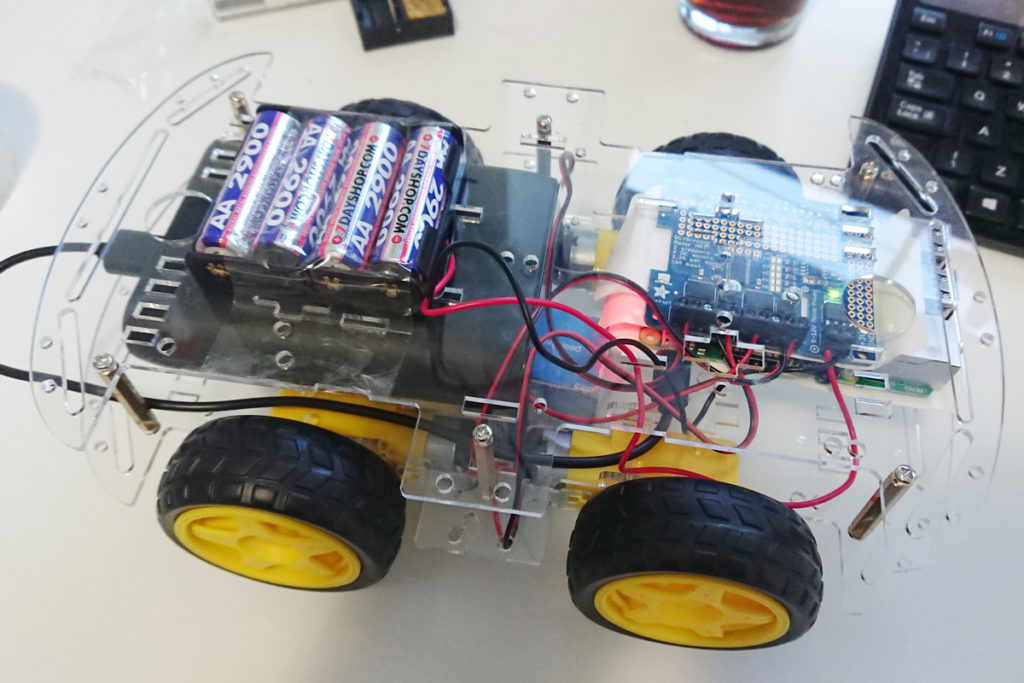
The robot is capable of connecting to the Internet using Wi-Fi. I was able to slightly increase the effective Wi-Fi range by using a Mikrotik router and altering the hardware retries setting and frame life settings. The intention was to quickly recover from transmission errors and avoid congestion. This discarded video packets that could not be delivered in real time, and kept the network clear for when transmission would be successful. I also used iptables and mangle to alter the DSCP of the live video stream packets with the same intention.
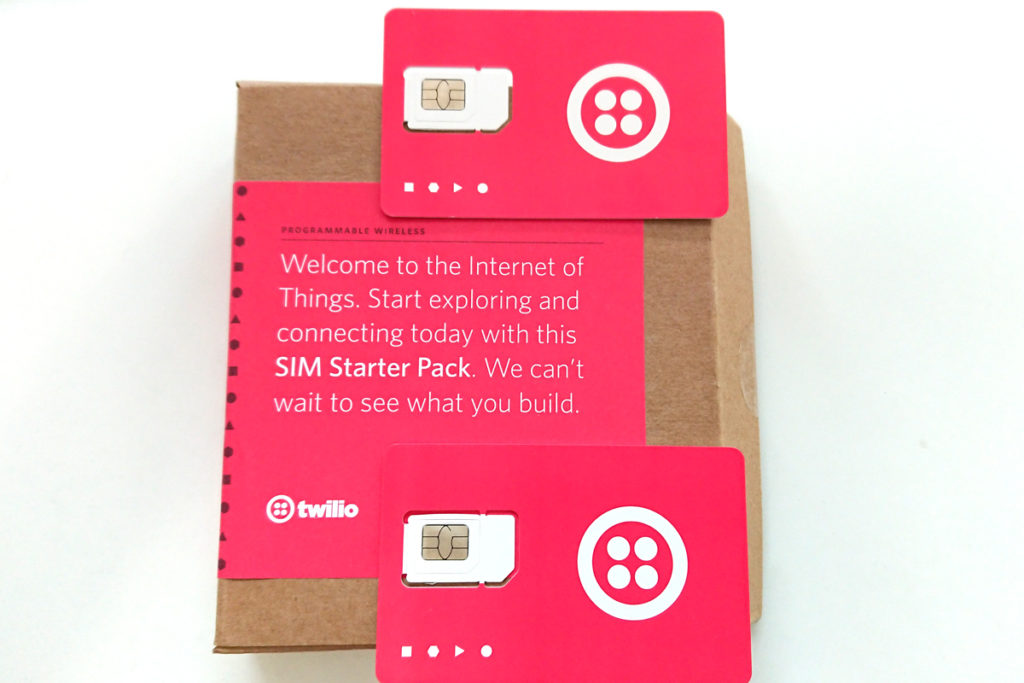
To enable a long range connection, I used Twilio Programmable Wireless to connect to local 4G/LTE cellular networks. I substantially lowered the data rate to around 250 Kbps to make transmission more reliable and reduce costs, and was able to get a virtually flawless live feed.

The live video and audio stream uses FFMPEG for compression and streaming, and has a plethora of settings to tune. I took the time to tune bitrate, buffering, keyframe interval. I also ensured the web camera was able to natively encode video with UVC at the selected resolution to reduce the load on the Raspberry Pi’s CPU. Video latency was often under a second, which is impressive especially considering the round trip involved.
The control system uses Let’s Robot (now Remo.tv), based at Circuit Launch in California, which has a community of robot builders who love to create and share their devices. The programming language of choice is Python, and I also linked to an existing API I had created in JavaScript with Node and PM2.
Mission 1
The first 4G/LTE long range mission was successful, and the webcam was good enough to be used at night. Different members of the community took turns to drive the robot. It didn’t always drive straight, so we had to drive forward and turn to the left at regular intervals. The robot drove for around 30 minutes, and then got stuck when it fell down a sidewalk. I had to quickly drive to retrieve it =)
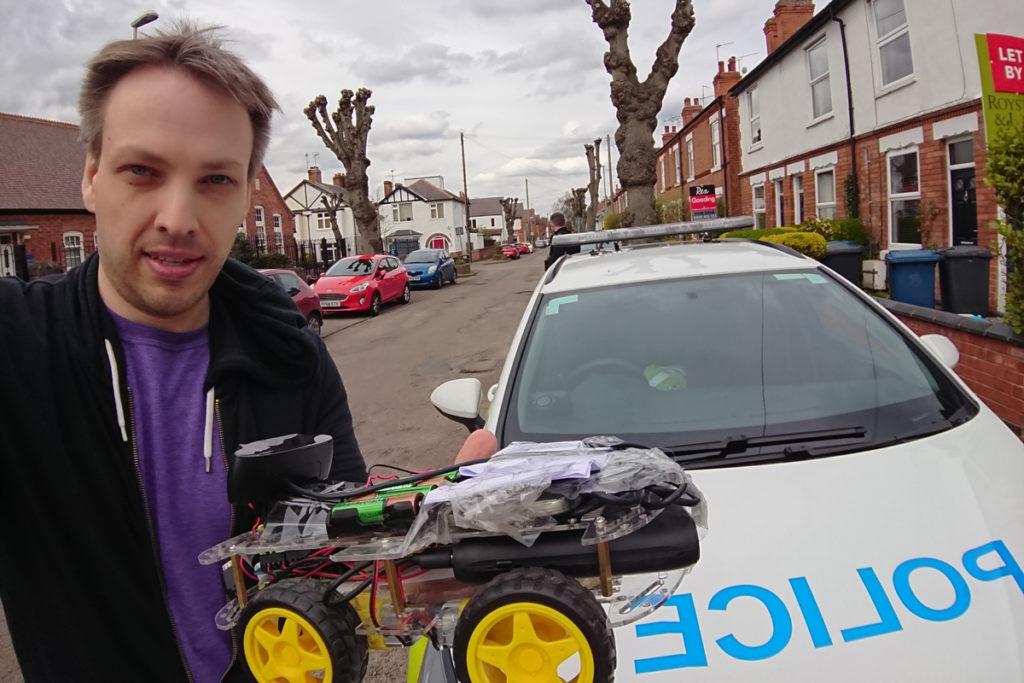
Mission 2
The second mission was intended to drive from my location to a friend working at a local business. However half way through the mission, a suspicious member of the public grabbed the robot, threw it in a trash can, and called the police. I waited for the police and calmly explained that the robot was an educational project in telepresence, and also told the person reporting the robot that there were no hard feelings, despite interfering and damaging my personal property.
Mission 3
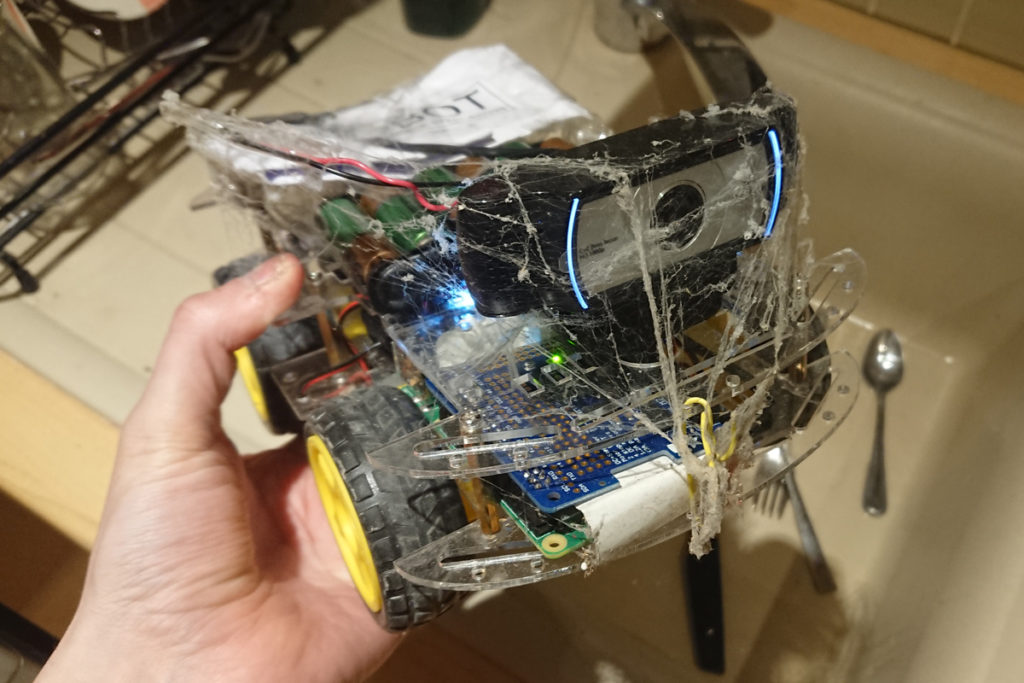
As part of the community site, it is common to leave your robot open to be controlled. While unattended, a sneaky individual drove my robot into a void of the house and managed to get it covered in spider webs and other filth, as you can see below. Thanks.
I found that cats were very curious about the robot invading their territory, as you can see below:
I was very pleased with how the project worked, and had the opportunity to use Python, Node, and fine-tune wireless networking and live video streaming, and of course remotely control the robot as I had wanted to do for a long time.
If you want to build your own robot, the guide to ‘building a Bottington’ is a great place to start.
Update: Twilio saw this post and gave me a $20.00 credit. Thank you 😁